Data engineering is a difficult job and tools like airflow make that streamlined. Let’s take a look at how to get up and running with airflow on kubernetes.
Prerequisites
- A kubernetes cluster - You can spin up on AWS, GCP, Azure or digitalocean or you can start one on your local machine using minikube
- Helm - If you do not already have helm installed then follow this tutorial to get it installed
Installing airflow using helm
1. Easy way
helm install stable/airflowThis will install airflow with default settings and a random release name. You are up and running with basic installation.
Congratulations!!!
2. Sophisticated way
Chances are that for anything serious you would want to make changes to default installation.
We will make following changes to make our airflow installation useful in a n enterprise setting:
- Create a namespace
- Change the source of DAG files in the helm chart
- Set up Active Directory authentication for airflow (Optional)
Let’s expand each of the above steps
2.1 Create a namespace
kubectl create namespace airflowswitch to the namespace
kubectl config set-context <context-name> –namespace=airflow
e.g.
kubectl config set-context dev1 --namespace=airflow2.2 clone the charts repository:
Since we are going to be using helm chart we will use values.yaml to make required changes.
git clone https://github.com/helm/charts.git
cd charts/stable/airflow
We want to make following changes:
- Get the code for our DAGS from our git repo. I have a sample repo at https://github.com/prabhatsharma/airflow-dags.
- Setup postgres for airflow
- Set up authentication using microsoft Active Directory.
Open values.yaml in a text editor and modify following sections:
2.3 Get the code for our DAGS from our git repo
|
|
to (see line 325)
|
|
2.4 Set up postgres
Airflow needs postgres to store state. You will want to setup a postgres if you have one already installed. If you don’t have one already installed then you can let the chart install one for you.
|
|
2.5 Active directory authentication - Create image
We will need ldap3 module to be installed in the airflow image. However default image puckel/docker-airflow does not have airflow installed. so we will have to build our own image.
We will fork and clone this repo https://github.com/puckel/docker-airflow and add ldap3 module
git clone https://github.com/puckel/docker-airflow
cd docker-airflow
Open Dockerfile in a text editor and add ldap3 module
|
|
Now build the image
docker build . -t hiprabhat/airflow:latest
docker push hiprabhat/airflow:latest
Replace the name of your docker repo from hiprabhat/airflow
Now update the image section in values.yaml to:
|
|
2.6 Active directory authentication - set up configuration
I already have an AD installed that I would be using.
|
|
2.7 Now lets begin installation
helm install stable/airflow -f values.yaml2.8 Access you airflow installation
Let’s check the services created by our helm chart:
kubectl get serviceOutput:
NAME                   TYPE        CLUSTER-IP       EXTERNAL-IP   PORT(S)    AGE
airflow-flower         ClusterIP   10.100.132.31    <none>        5555/TCP   30s
airflow-postgresql     ClusterIP   10.100.111.183   <none>        5432/TCP   30s
airflow-redis-master   ClusterIP   10.100.89.235    <none>        6379/TCP   30s
airflow-web            ClusterIP   10.100.9.65      <none>        8080/TCP   30s
airflow-worker         ClusterIP   None             <none>        8793/TCP   30s
Now let’s use port-forward to access the service
kubectl port-forward service/airflow-web 8080:8080Now point your browser to http://localhost:8080
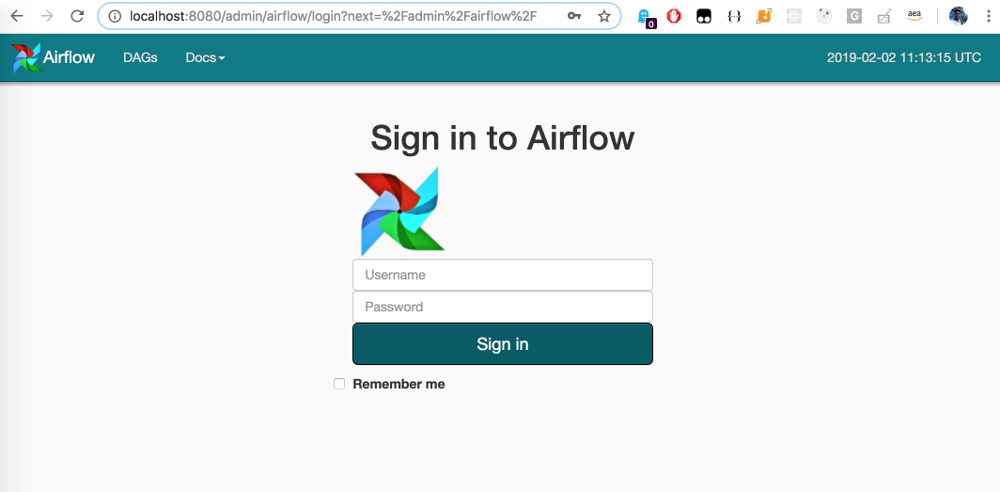
You can setup an ingress in front of your airflow-web service to make it accessible over internet.
Congratulations You are up and running with airflow!!!
You might also want to read the new blog on Installing Airflow on Kubernetes Using Operator